Wednesday, May 7, 2008

Happy Mother's Day...with Jello

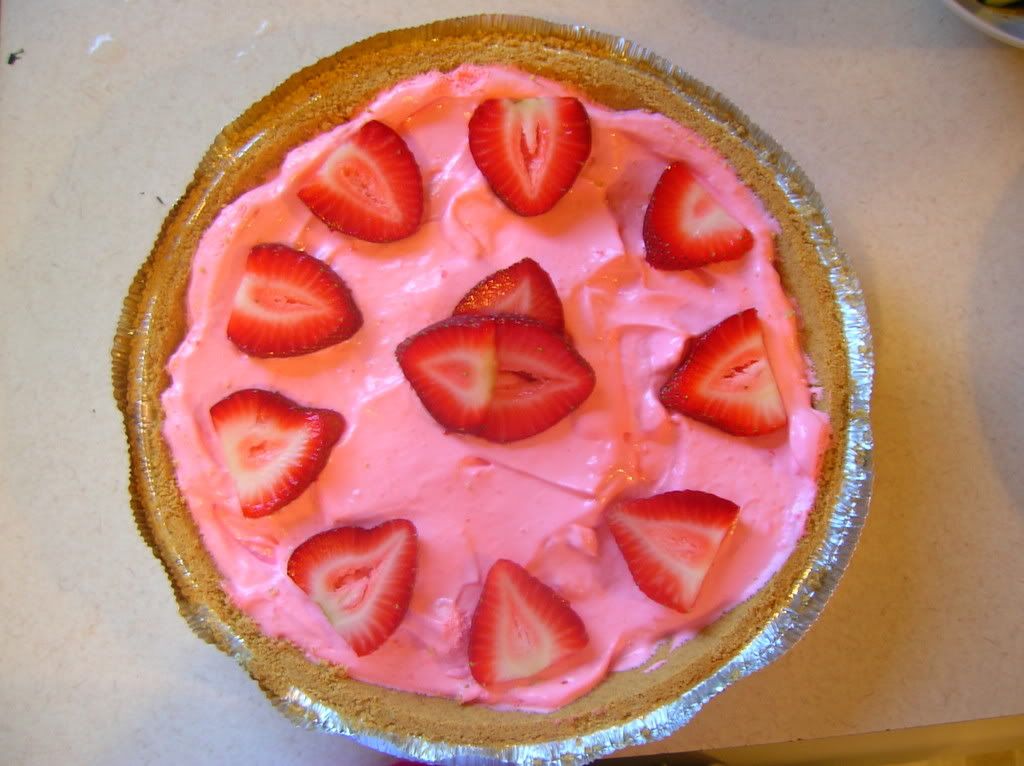
I know it looks as if I've made nothing but desserts, but really, I do eat actual meals. This past month (or two) I've been trying to eat up everything that's been lingering around the pantry and the freezer in order to save some money at the grocery store. I've made a few creative meals...creative in that I think, "Wow! That was all pretty random, but tasty." I've had a box of strawberry jello in the pantry for months now. Who bought the strawberry jello? I don't know. I believe it was a purchase made when my mom started her chemo back in fall. I have nothing against jello. It's brightly colored and jiggly and reminds me of candy. So, instead of making jello (or jello shots, which are tempting when you've had a rough week) I went back again to a childhood recipe that my mom made for holidays and special events.

When I was young, my family didn't have a lot of money and I had VERY young parents. My mom was a young mother who was learning to cook while she was learning to be a parent and a wife. So, this recipe is VERY simple but, in my eyes, still one of my favorite desserts since it reminds me of her. This is actually best with lime or lemon jello, but the strawberry worked just fine. Hey! And it's pink for breast cancer awareness!


Strawberry Jello Pie

1 small box of strawberry jello
1/4 cup boiling water
1/4 cup room temp water
1 tub lite cool whip
1 premade graham cracker crust
fresh strawberries for the top

Mix the box of jello with 1/4 cup boiling water to dissolve. Once all dissolved, add 1/4 cup room temperature water (or less if it looks to watery) and mix well. Let it cool back to room temp if it's too hot. Fold the liquid jello into the the cool whip slowly. Once it is all mixed together, scoop into your crust and put it in the fridge to set. Add fresh strawberries and serve! It tastes like a quick strawberry mousse...light and fluffy!

Monday, April 28, 2008

Little Treats from Childhood

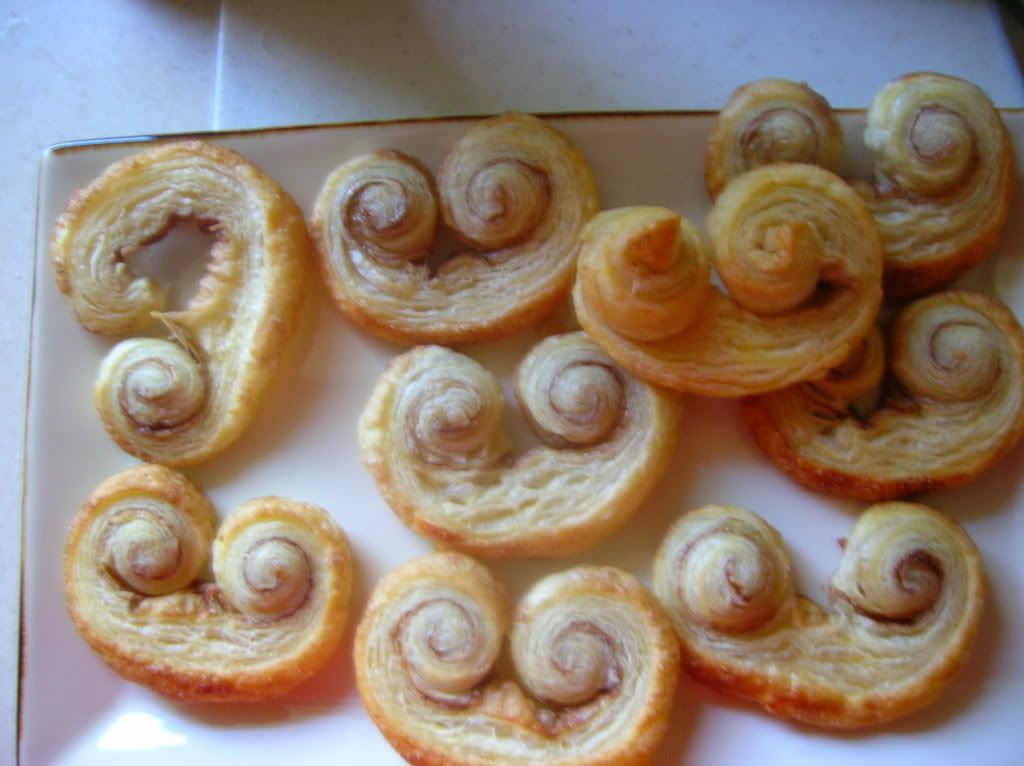
One of the things I miss most about Hawaii is the food. I don't necessarily mean Hawaiian food, but rather food that instantly takes me back to childhood. There are certain things I miss- "fast food" sushi (as I refer to it) from Kozo, rainbow shaved ice from the little stand in Nuuanu, and even Zippy's saimin and mac salad. All of these remind me of home. Another place I miss in Hawaii is Shirokiya, a Japanese department store that sells everything from electronics to food products to Hello Kitty. It also has a french bakery that sells some of the best sweets in town- including my favorite palmiers. Palmiers are so simple to make and very versatile. You can make them sweet or savory just by adding different seasonings and spices. The ones I made below are cinnamon and sugar, which were my favorite as a keiki (child).


Palmiers (easy version)

1 sheet of puff pastry
1/2 cup sugar
1/2 cup cinnamon
1 egg, beaten

Spread the sheet out. Brush egg wash on one side and sprinkle with cinnamon and sugar. Turn over and do the same to the other side. Take one side of the puff pastry and roll it to the center. Take the other side and roll it to the center. Wrap in parchment paper and put in the freezer for about 10 minutes to harden. Don't unravel, but cut the log into 1/2 inch heart-shaped pieces. Brush tops with egg wash and sprinkle again with sugar and cinnamon. Bake according to puff pastry box directions. Keep an eye on them so they brown and don't burn!

**This can easily be savory by swiping pesto instead of egg and adding Parmesan cheese to the inside and on top of the cookies (before you bake). Really, add anything you think could taste yummy!

Monday, April 21, 2008

For Those Nights

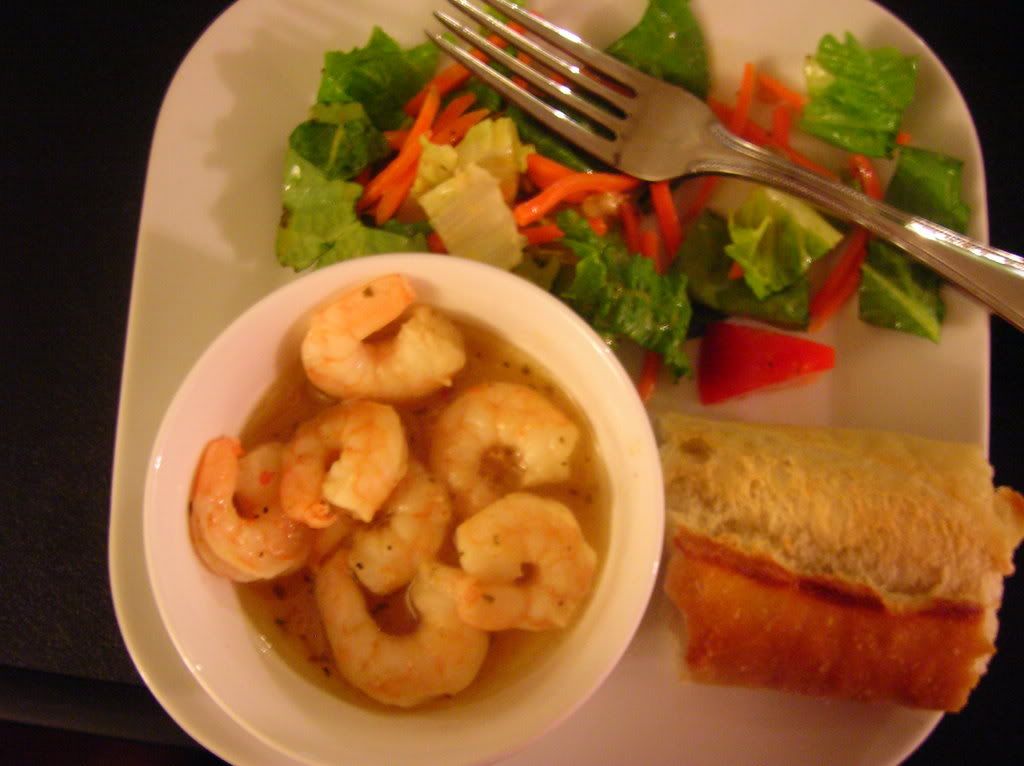
These days I am either really busy or just not busy enough. However, there is one thing that will always make me feel better on a long day- food. A good meal is a way to my heart and a sense of relief. Therefore, on busy nights, any dinner I can make in 30 minutes with minimal ingredients is perfect. AND, if the leftovers turn into a second meal the next day, that is even better. This recipe has been a go-to in my family since I was a child. It has always been one of my favorite meals not only for the ease, but it is really pretty good. If you have any shrimp and dressing leftover, toss it with some warm whole wheat pasta for a second dinner.


Italian Shrimp

1 bag frozen cleaned, shelled, and tail on (if you like) shrimp- thawed
2-3 cups of good Italian dressing (I like Newman's Parm Italian or Kraft Tuscan Italian)
1 good crusty french baguette (for mopping)

Place thawed shrimp in a glass baking dish with the Italian dressing and cook at 375 degrees until shrimp is pink and ready. Serve with bread and a side salad. Bread is perfect for mopping up the dressing!

Told you it was easy!

Thursday, April 17, 2008

Baby Steps

Lately, I've been trying to bake a bit more- cookies, cakes, and now breads. I've never been a good baker...even with a box mix. I would like to blame my stove for not providing the proper even heat, but I do think some of it has to do with me. The more I practice though, the better I am becoming. Cooking comes more naturally to me in that it isn't a precise science. I can cook by taste and instinct rather than by measuring out ingredients. Baking requires me to measure everything out very carefully since a pinch too much of something can throw the whole recipe off! Somehow, I did manage to make this focaccia and it didn't turn out too bad.

My changes: I used a russet potato instead of yukon and used roma tomatoes instead of cherry.


Potato Focaccia
taken directly from The Wednesday Chef

Makes one 8-inch focaccia


1 medium Yukon Gold potato

2 cups all-purpose flour, plus more as needed
1 teaspoon fresh yeast
A pinch of sugar
1 1/2 teaspoons salt, plus more for salting water
2/3 cup warm water
3 tablespoons extra-virgin olive oil
1/2 pint of cherry or grape tomatoes, sliced crosswise
1 to 2 teaspoons dried oregano
Coarse sea salt

1. Wash the potato and place in a small saucepan along with enough water to cover the potato by an inch. Place the pot over high heat, covered, and bring to a boil. Add a handful of kosher salt to the water. Simmer until the potato is tender when pierced with a knife, around 20 minutes. Drain the potato and let it cool. Peel the potato and mash finely with a fork. Set aside.


2. Put the yeast in a large mixing bowl along with a pinch of sugar. Add the warm water in a thin stream over the yeast, using a fork to help dissolve the yeast entirely. Let the mixture stand for a few minutes.


3. Pour the flour into the yeast water and stir with a fork, then add the mashed potato and the salt. The dough will be relatively thick and shaggy. Use the fork to incorporate the potato into the flour. Add 2 tablespoons of olive oil and begin to knead the dough by hand. It will come together quite quickly. Knead against the bowl for a minute or so, until it is relatively smooth. Add more flour if the dough is too sticky to handle. Form the dough into a ball and let it rest, covered with a kitchen towel, in the bowl for an hour.


4. Cut a piece of parchment paper to fit the bottom of an 8-inch cake pan. Using your fingertips, gently release the puffy and risen dough from the bowl and place it in the cake pan. Gently tug and pat it out so that it fits the pan. Cover the top of the focaccia with the tomato halves, distributing them evenly. Sprinkle the oregano and a large pinch of coarse salt over the tomatoes, drizzle with the remaining tablespoon of olive oil, and let it rest for another hour.


5. While the focaccia is resting, preheat the oven to 425 degrees. Place the cake pan in the oven and bake for 40 minutes, rotating the pan halfway through. Let cool on a rack for 20 minutes before removing the focaccia from the pan.
Tuesday, April 8, 2008

Everything That's Good in a Cookie

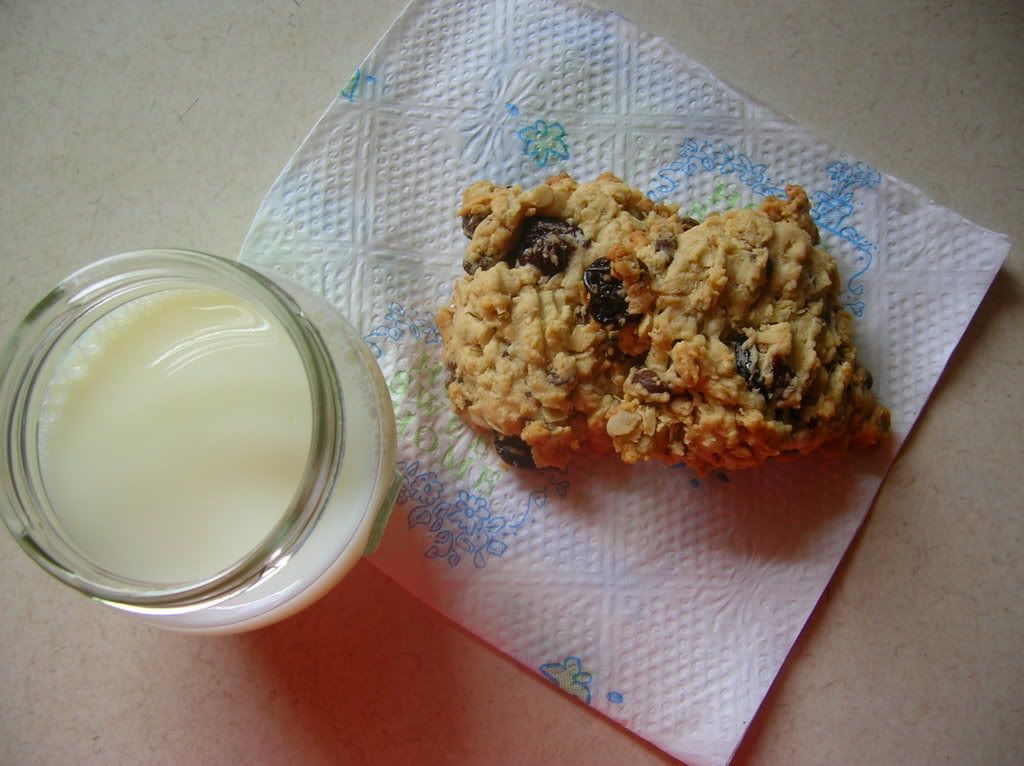
That's right...two posts in the same week! WOW! You can tell that the sweet tooth took control last month. I think I have already expressed my undying love for both the cookie and the cupcake. However, I never knew how much I loved the former until it was joined in marital bliss with bittersweet chocolate, cherries, and oats. Who needs a boring oatmeal cookie when you can have these heavenly ones! The tartness of the cherries were perfect for the sweet chocolate. The oats gave them some body and BAM! (in the words of Emeril). Just such a treat.

My small changes to the recipe: I didn't add the toffee bits since I just thought it would be too overwhelming, and I cut the sugar by about half. I don't like my cookies too sweet, and these changes made them perfect for me!


Torie's Cherry Chocolate-Chunk Cookies
(directly taken from Martha Stewart)

1 1/2 cups all-purpose flour
1 teaspoon baking soda
1/2 pound (2 sticks) unsalted butter, room temperature
3/4 cup packed light-brown sugar
3/4 cup granulated sugar
1 large egg
1 teaspoon pure vanilla extract
1 1/2 cups oats
1 cup dried cherries
4 1/2 ounces bittersweet chocolate, coarsely chopped
1 cup toffee pieces

Makes about 2 1/2 dozen cookies.

1. Preheat oven to 350°. Line two baking sheets with parch­ment paper; set aside. In a large bowl, sift together flour and baking soda.
2. In the bowl of an electric mixer fitted with the paddle attachment, cream the butter and both sugars on medium speed until light and fluffy, 2 to 3 minutes, scraping down the sides of the bowl once or twice during mixing. Add the egg; mix on high speed to combine. Add the vanilla; mix to combine. Scrape down the sides of the bowl.
3. Add flour mixture to egg mixture, and mix on low speed until well combined. Add the oats, cherries, chocolate, and toffee pieces; mix to combine after each addition.
4. Spoon a heaping tablespoon of dough onto a lined baking sheet. Repeat, spacing 2 inches apart.
5. Bake cookies until golden brown, 14 to 16 minutes, rotat­ing baking sheet halfway through. Transfer to a wire rack.

Monday, April 7, 2008

Sweets for my Sweets

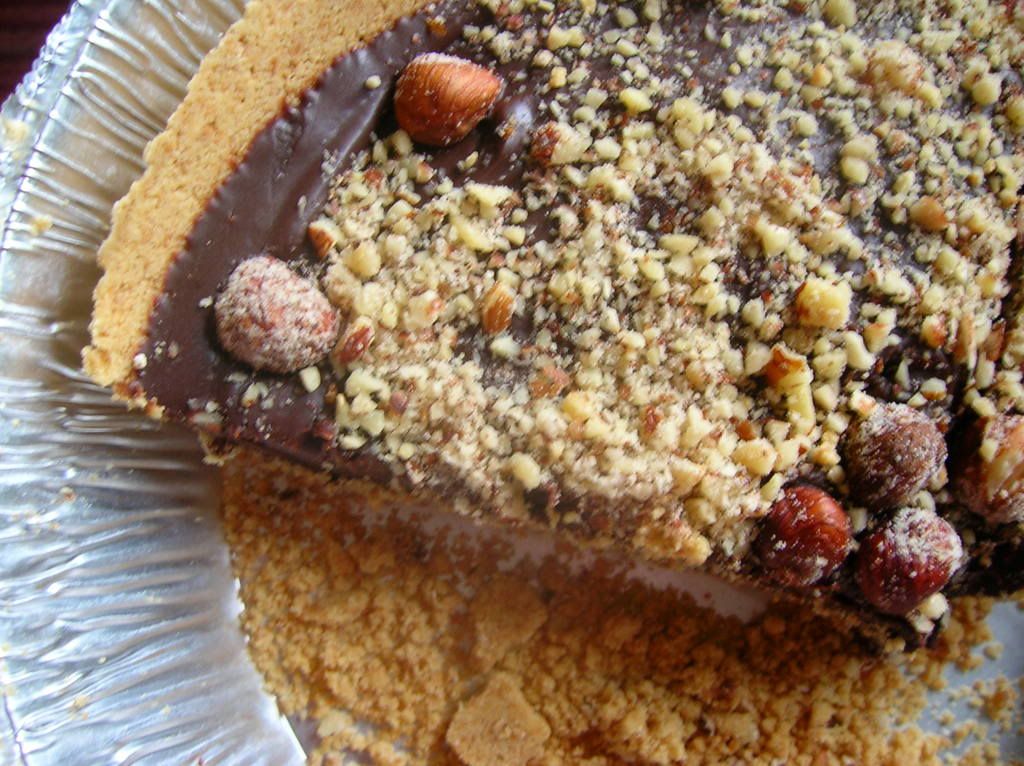
It's already April and I'm ready for a new month. I can't say March was great because it wasn't, but I'm willing to let it go in hopes that April showers will bring new (and better) things. A new garden is growing in my yard and it's already sprouting a few flecks of green. That's already a good sign! While I wait, I'm willing to indulge in some sweet treats. Sugar always makes things better...especially if it's accompanied by Nutella.


Chocolate Hazelnut Tart
(from Gourmet mag)

1 pre-made graham cracker crust (store bought or, if adventurous, you can make your own)
1 cup hazelnuts, chopped
1 cup heavy cream
10 1/2 oz. fine quality bittersweet chocolate (not unsweetened!) in chips or finely chopped
1/2 cup of Nutella
pinch of salt

In a sauce pan, heat the heavy cream to a light boil. In a heat-safe bowl, pour heated cream over chocolate and whisk until chocolate is melted. Add Nutella and salt, and whisk together until everything is combined. You can either add the hazelnuts in the mix so it's evenly distributed through the dish or add them on top (which is what I did). Pour chocolate filling into the crust and put in freezer until set (about 30 minutes). OR if you are going to eat later, put in the fridge until ready to serve. OPTIONAL: We had them with some sangria soaked strawberries on the side and that was a GREAT addition. It really cut through the richness of the chocolate.

Thursday, February 21, 2008

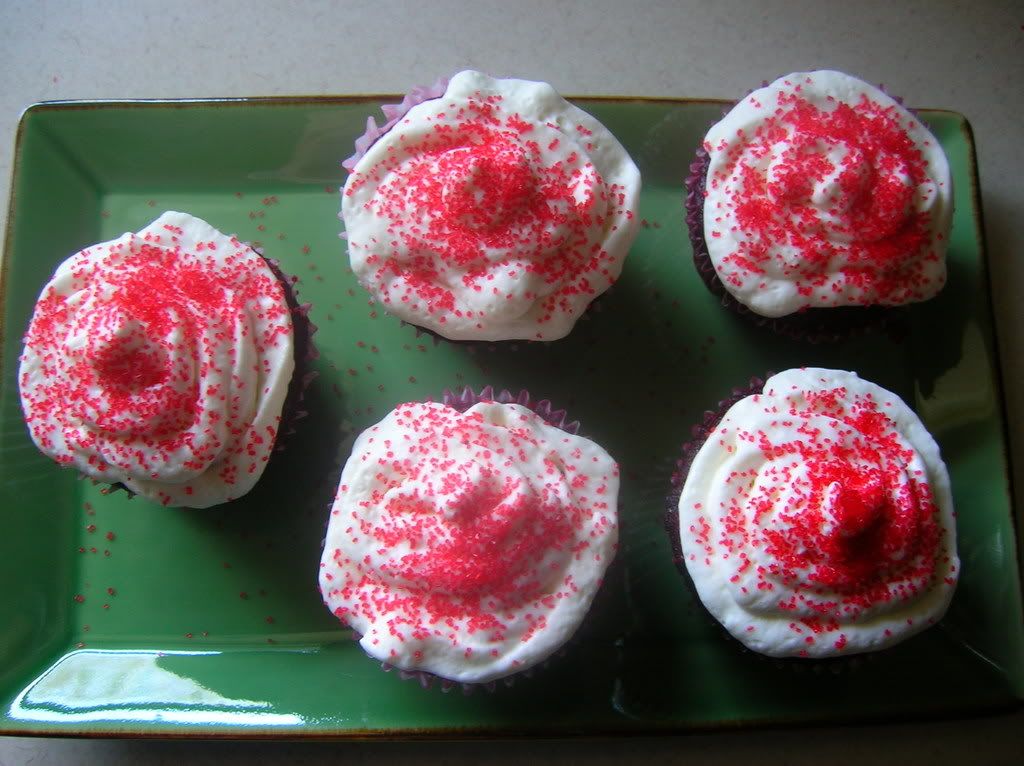
Such Lovely Cupcakes

There are several things I love about the South, and one of those things is the FOOD! I love Southern food, from BBQ to collard greens. Since I've been living here, I'm trying to make some Southern specialites. So, what better way to celebrate Valentines Day but with Red Velvet cupcakes! I found the recipe below from Desert Candy. However, as usual, I cheated due to lack of time. I made the cupcakes from a box mix (which was still pretty darn yummy) and did make the frosting below minus the mascarpone (since it wasn't in my local grocery store that day). All told- some of the best cupcakes I've ever had!

Red Velvet Cupcakes
recipe directly from Desert Candy (a GREAT blog)
This has a surprising amount of red food coloring in it, so make sure you have enough on hand before proceeding.

3½ cups cake flour
½ cup unsweetened cocoa (not Dutch process)
1½ teaspoons salt
2 cups canola oil
2¼ cups granulated sugar
3 large eggs
6 tablespoons (3 ounces, 1/4 cup plus 2 tbl) red food coloring
1½ teaspoons vanilla
1¼ cup buttermilk
2 teaspoons baking soda
2½ teaspoons white vinegar

1. Preheat oven to 350 degrees. Grease 3 round 9-inch layer cake pans and line bottoms with parchment.
2. Whisk cake flour, cocoa and salt in a bowl.
3. Place oil and sugar in bowl of an electric mixer and beat at medium speed until well-blended. Beat in eggs one at a time. With machine on low, very slowly add red food coloring. (Take care: it may splash.) Add vanilla. Add flour mixture alternately with buttermilk in two batches. Scrape down bowl and beat just long enough to combine.
4. Place baking soda in a small dish, stir in vinegar and add to batter with machine running. Beat for 10 seconds.5. Divide batter among pans, place in oven and bake until a cake tester comes out clean, 40 to 45 minutes. Let cool in pans 20 minutes. Then remove from pans, flip layers over and peel off parchment. Cool completely before frosting.

Whipped Mascarpone Frosting for Red Velvet Cake
2 cups heavy cream, cold
12 ounces cream cheese, at room temperature
12 ounces mascarpone
½ teaspoon vanilla
1½ cups confectioners’ sugar, sifted

1. Softly whip cream by hand, in electric mixer or in food processor. Cover in bowl and refrigerate.
2. Blend cream cheese and mascarpone in food processor or electric mixer until smooth. Add vanilla, pulse briefly, and add confectioners’ sugar. Blend well.
3. Transfer cream cheese mixture to bowl; fold in whipped cream. Refrigerate until needed.